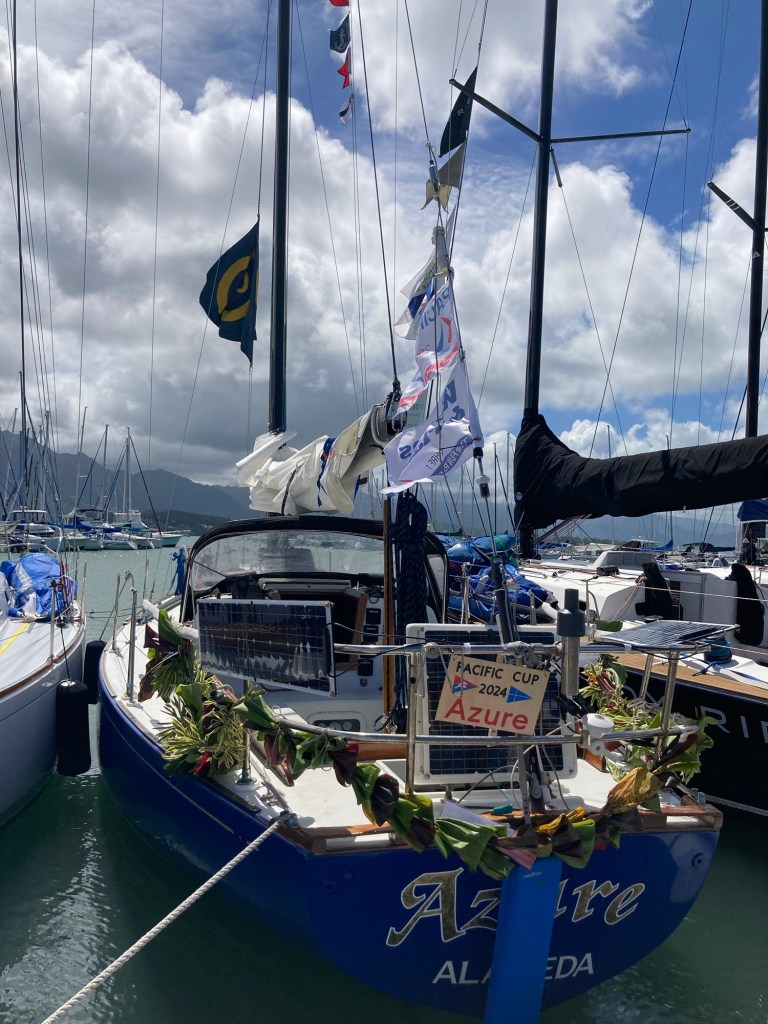
Every two years in July about 50 sailing yachts compete from San Francisco Bay to Kaneohe Bay for the Pacific Cup, “the fun race to Hawaii.” It’s organized and hosted by Pacific Cup Yacht Club in Northern California and Kaneohe Yacht Club in Hawaii. The boats have handicap starts and sail under the Golden Gate Bridge and across the sea to arrive around the same time, hopefully, and in time for the parties ashore on Oahu.

Delicate Balance arrives at Kaneohe on a cloudy afternoon. Two boat lei welcome her.
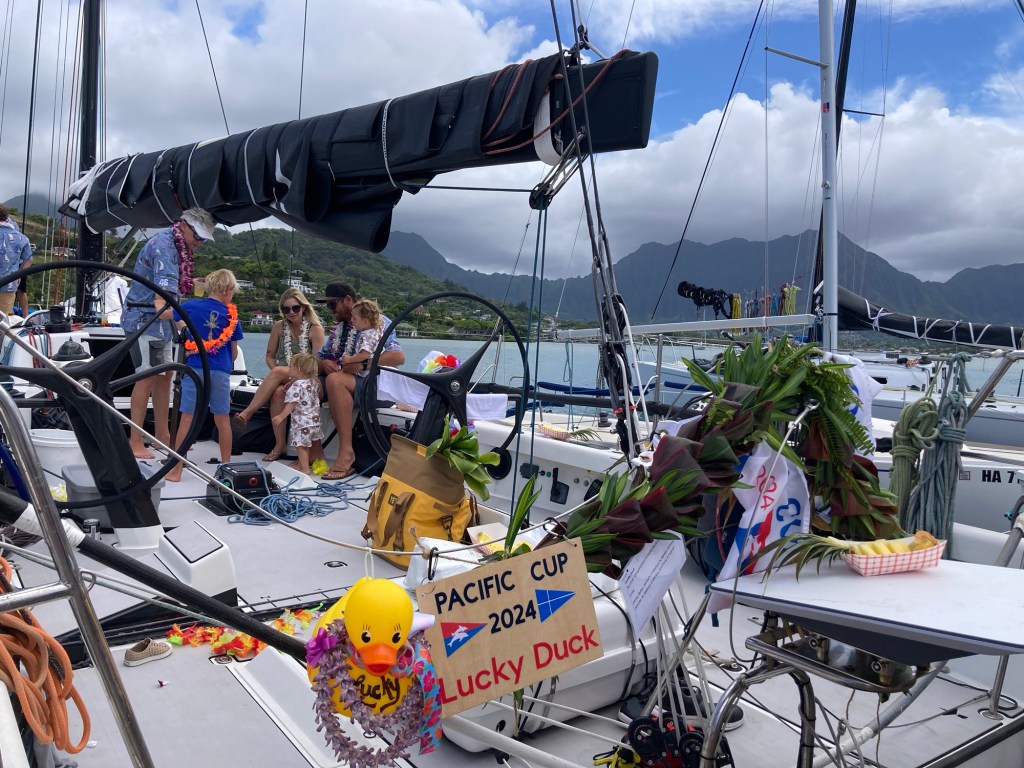
Many years ago I became the volunteer chair of the Boat Lei committee for KYC. I’m affectionately known as the Boat Lei Lady! A boat lei is a giant 12-foot garland of fresh, tropical foliage to greet and honor the vessel that carried her skipper and crew safely across the ocean.
Some call it a bow lei because it is attractive draped over the front end of the boat. Because most of the Pacific Cup yachts tie up stern to, we renamed it boat lei. It may be fastened anywhere as a decoration. The custom of presenting the lei has become a Pacific Cup tradition.
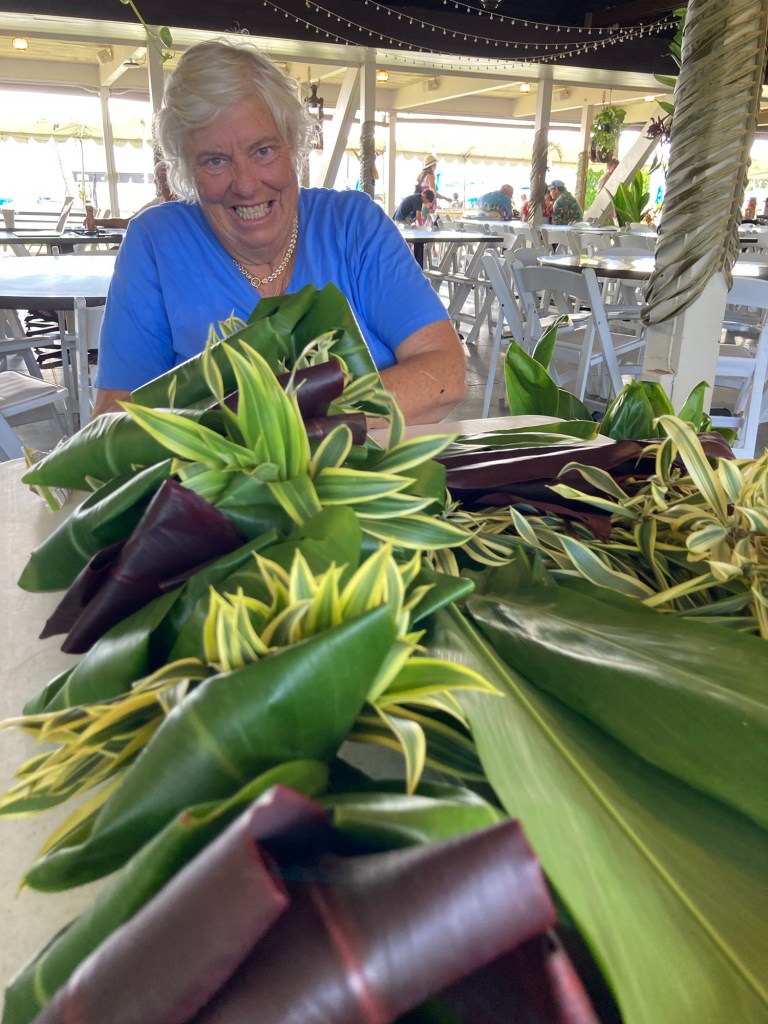
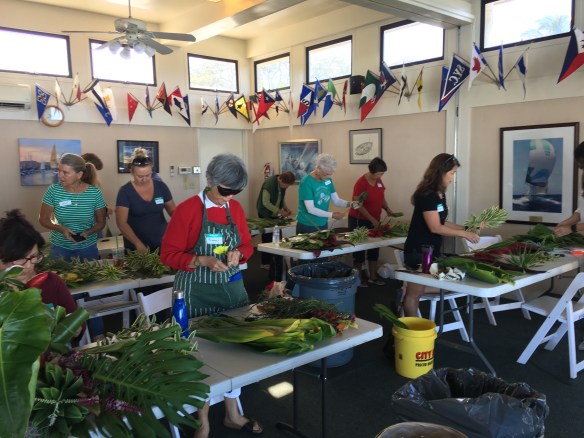
It takes many hands to make the boat lei for this event. The finished products are beautiful works of art and much admired. Event organizers inform the racers, family and friends they may pre-order the lei so it’s ready for their favorite boat when it arrives.
Last Friday, Saturday, and Sunday my crew made 45 boat lei! Many thanks to Michael and Bobbi for the promotion in California and for handling the sales from the e-store. That was a big help. Thanks to Kaneohe Yacht Club for lending the workspace. And, of course, mahalo (thanks) to all the lei artists for their remarkable team effort. Some KYC members also pitched in, and we are grateful for their contribution.

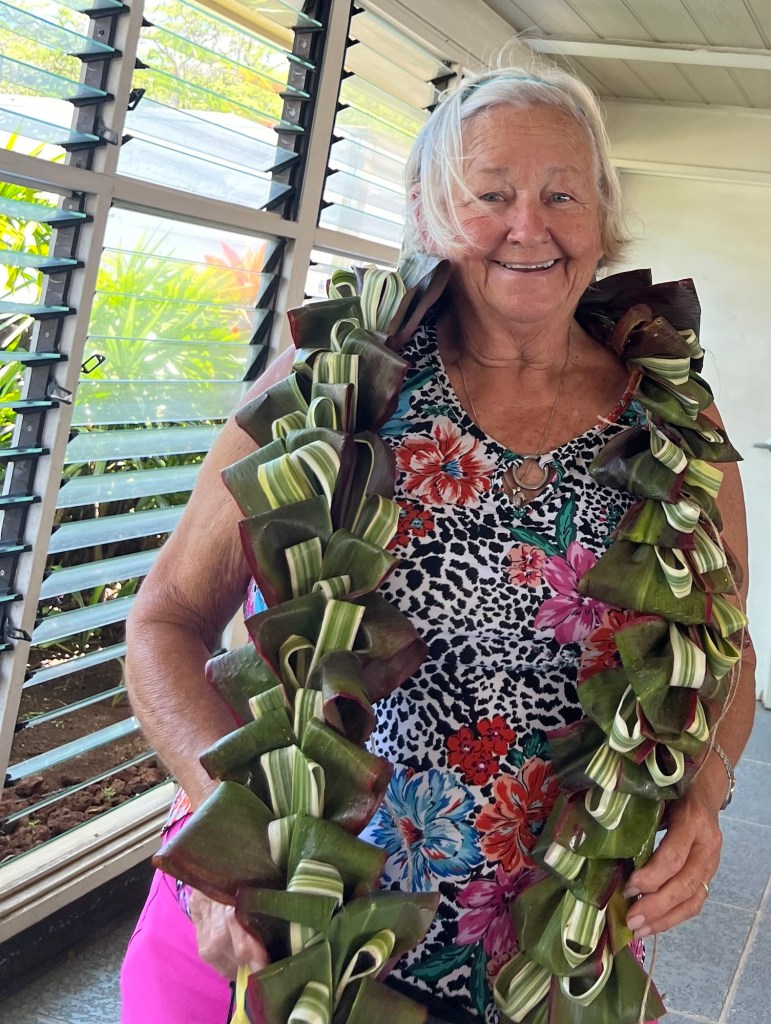
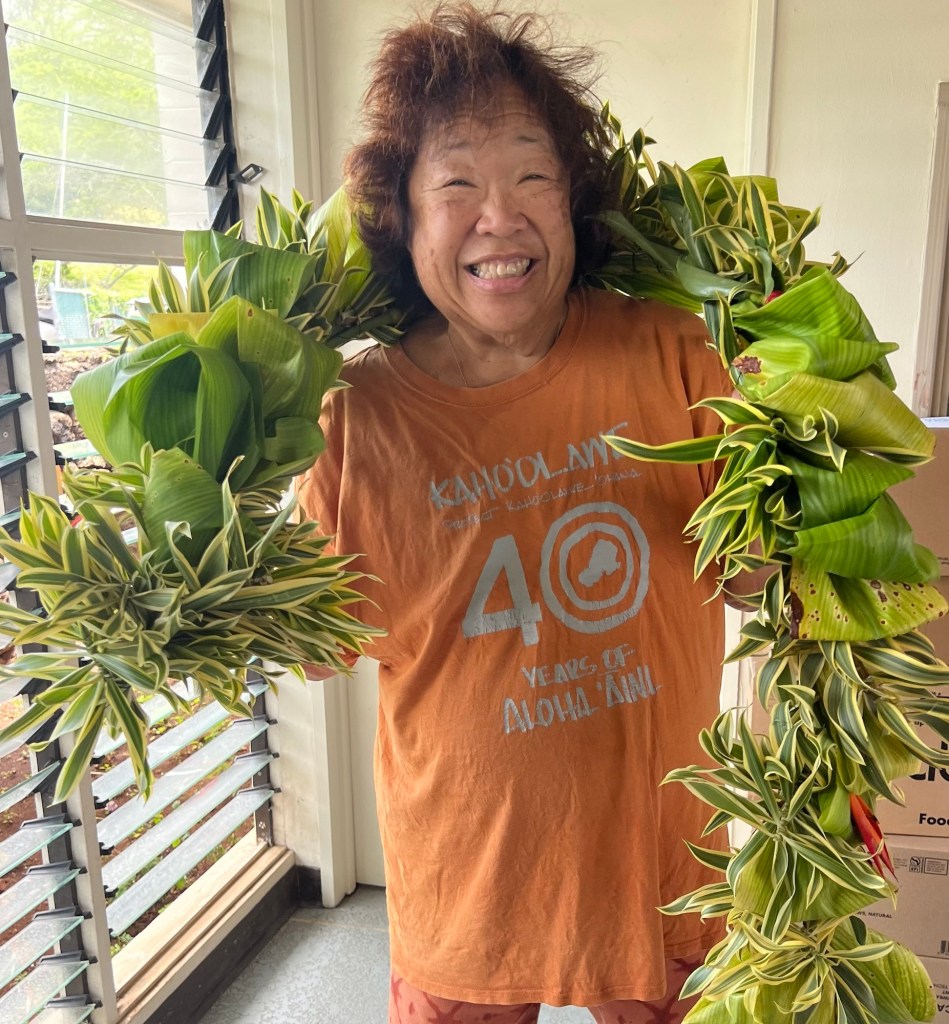
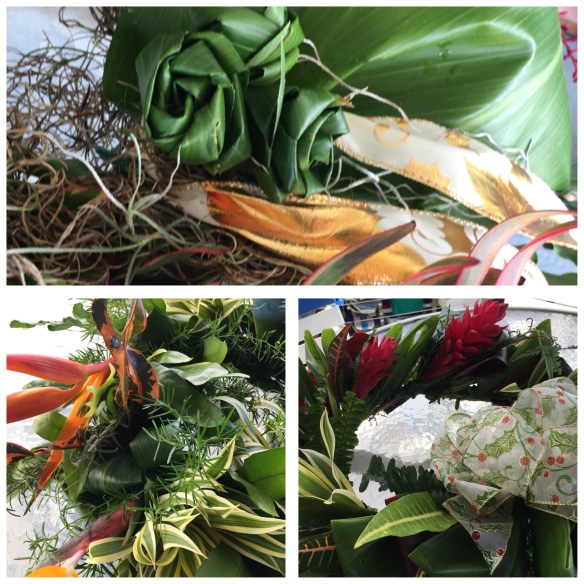
Haleaha finishes her 12-foot lei made with variegated Song of India clusters and red ti leaves
How do we make the lei? And how are we able to make so many? I’ve been asked. I will tell you! But first a little history and a funny story.
LITTLE HISTORY. In the early years I worked with members of Hale Kuai Cooperative, a Native Hawaiian organization, to design the basic lei. We wanted cut foliage that would hold up in the sun, rain, trade winds, and salt air and look pretty for at least a couple of days in the elements.
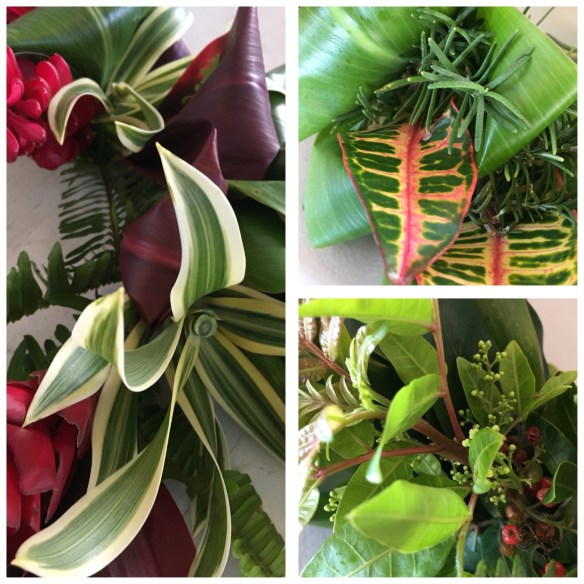
We settled on lai (say LAH-EEE, leaves from the ti plant), lauae (say LUH-AU-AY , a fragrant yet sturdy fern … Phymatosorus scolopendria, syn. Microsorium scolopendria), and multi-colored croton leaves. Our friend Kapa showed us how to use floral wire to bind the foliage; she learned the use of wire from her kumu hula. And Aunty Havana, who is a master at making hat lei, showed how to combine everything into lovely creations, once she figured out how to translate small to big. The lei became a product of the Co-op.

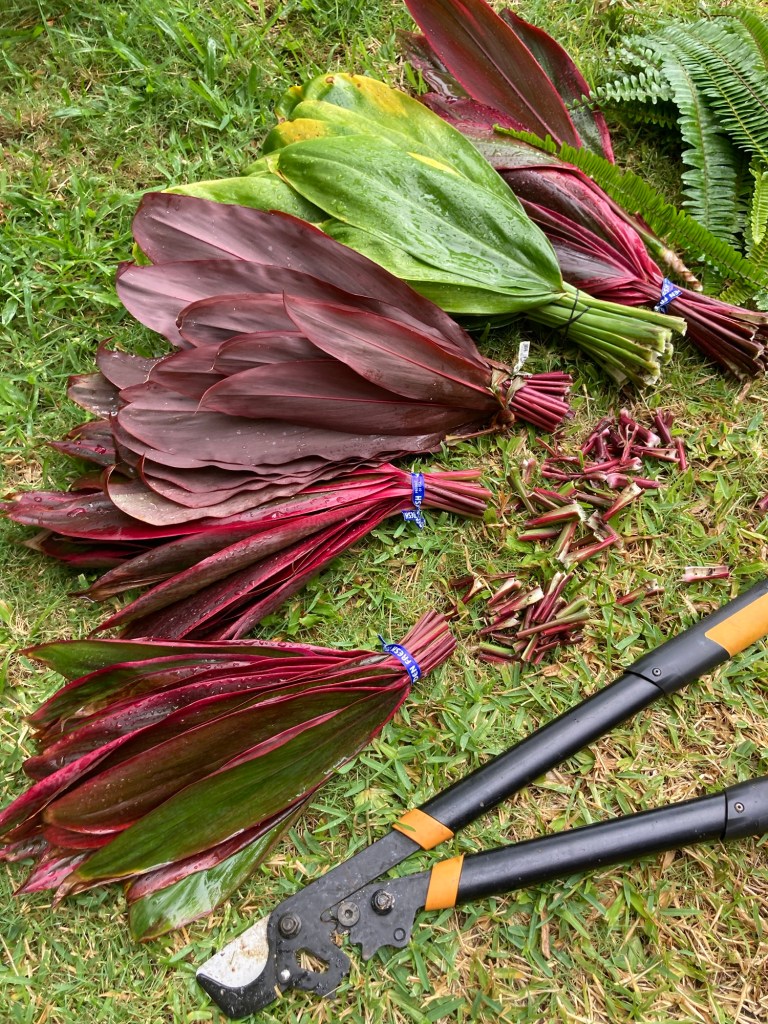
Green and red ti leaves. When picked from the stalk, they are called la‘i.
In more recent years, I have partnered with Koolauloa Hawaiian Civic Club to supply the boat lei. Volunteer members and friends gather the plant material from their gardens and from the mountains, donating the material and their time to the project. Other members and friends, who are artistic and enjoy lei making, work professionally as floral designers for a few days and assemble the lei. The net proceeds from the sale of the lei provide scholarships for Native Hawaiian club members and/or their children.

Clover's lei
FUNNY STORY. The very first year of my boat lei experience, we made the lei fine, but I had not given any thought to delivering the lei. I was so involved in providing a product that it did not occur to me that the boats would arrive at any time of day or night, 24/7. OMG! It was too late to organize any shift work.

Pekelo's lei. Yellow-and-green croton and red ti provide accent color among the other greenery.
DH (Darling Husband) has a sailboat moored at the yacht club. He and I monitored the ETAs, and for an evening arrival, we would catnap on his little Mugquomp and wake up as the radio crackled to announce a boat had crossed the finish line. As we climbed out of our bunk and put on our jackets, for it was cool and a little rainy, we were fascinated and impressed by the radio conversation between Iwalani of the Escort committee and each arriving yacht. In her very calm, reassuring, professional, and gracious way, Iwalani gave the information and instructions on how to enter and come down the channel (with coral reef on both sides) to the dock at night. We had enough time on foot to greet the boat with a big lei.
DH and I were very short on sleep that year. Someone later suggested that we arrange for the Leis and Trays committee to deliver the lei. Brilliant! That committee is much larger and greets the boats with Hawaiian music, lei and mai tais for the captain and crew. Why not the lei for the boat too?
HOW TO MAKE A BOAT LEI
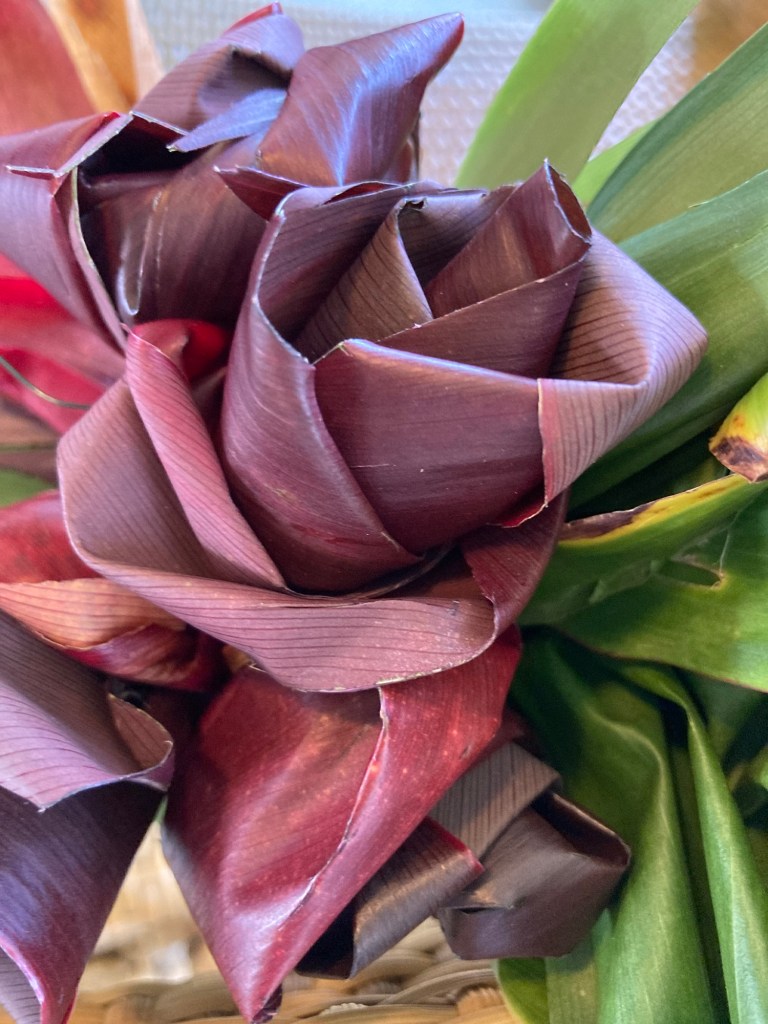
The style of the lei is known as wili (say WEE-LEE), meaning to wind. We wind by hand—one must have strong hands to tug—using wire instead of a natural twine or raffia traditionally used to make a hat or neck lei. Wire allows us to put the work down and makes it easier on our hands. Our lei are 12 feet long, but shorter lengths make lovely bouquets, wreaths, and table decorations. Allow enough time to gather & prep the materials and make the lei. It takes about two hours to make, excluding time to gather.
Each artist has his/her “line,” so do not worry that your lei does not look like someone else’s. It won’t. The variables are selection and placement of the plant material as well as the available supply of the greenery and flowers. Here is the basic way to construct the lei.

Ti, lauae, and red ginger combo
Materials to make one 12-foot lei:
1 kaau (which is 40) each of ti leaves, lauae, croton leaves. Be sure to leave about 4 inches of the stem on. The stems provide the slightly stiff backing for the lei. Do not strip the mid-rib from the ti leaf.
A few tropical flowers—such as, heliconia, red ginger, bird of paradise, bougainvillia clusters—with 6-inch stems to intersperse throughout the lei (optional)
One 24-gauge paddle wire from the floral supplier or craft store. One paddle is enough for one and a half lei, or approximately 18 feet total.
String to tie on the finished lei to the boat
Gloves (optional) to protect hands from croton stains
33-gal. plastic trash bag (optional)

Ululani's lei
Tools:
Work surface such as a table or floor, hand clippers, scissors, spray bottle of water
Step 1. Gather and prep materials by sorting by color and size, cleaning, and bundling.
Step 2. Pick a palette of 3 or 4 types of leaves if you have a wide choice. Include ti and lauae in your palette.
Step 3. Take the tip of a large ti leaf and turn it under to meet the stem, shiny side out, bending it in half but not creasing it. Fasten the tip to the stem with the wire, winding it around the leaf 5 inches from the ends. Begin winding about 5 inches from the beginning of the wire, securing both the ends of the leaf and the wire together. Grasp the two ends of the leaf and the end of the wire with one hand (if you’re right-handed, use your right hand), and wind the wire with the other hand, going around about 5 times. Be sure to pull the wire taut. This is the start. You will use one continuous length of wire and not cut it until the end (unless the wire accidentally breaks).
Step 4. With the tip of the ti leaf facing up and pointing toward you, place a lauae leaf on top with stem pointing toward you. Wind the wire around 1/2 inch down from your start 3 times, again pulling taut. Next add some croton in the same way, 1/2 inch down. Then add another ti leaf. This grouping forms your pattern.
Step 5. Repeat Step 4. Alternate placement right and left, if you wish, to cover the sides. With each addition, come down about 1/2 inch. Remember to pull the wire taut as you wind so that your lei does not come apart.
Keep the width of the lei the same by checking the sections you did earlier. If your lei is getting wider (this is common with beginning lei makers), allow less material to show or leave more space as you add. Just be sure your wire is wound every 1/2 inch, catching all the stems. From time to time, turn your lei over to examine the back. Hold your lei up with one hand and give it a good shake to make sure it is secure. From time to time, spray the lei with water to keep it fresh.
Step 6. After the lei is the desired length, end it by winding the wire around itself about 10 times. Snip wire with scissors. Tie string with a square knot to the lei at 4 or 5 points as a way to fasten the lei to the boat.
Step 7. Keep the lei cool until ready to decorate. A cold air-conditioned room is ideal. Mist with water.
Step 8 (optional). For transporting or brief storage, roll the lei into a wreath and place in a 33-gallon plastic trash bag. Leave an opening for the lei to breathe.
And that’s the story of the boat lei. Enjoy your creation!
Copyright 2010 Rebekah Luke


Recent comments